
This guide will walk you through the process of activating LabSSH. Until the toolkit is activated, you will not be able to use any of the library VI's.
1. Start the Wizard
1.1. Remote Activation
1.2. Response Entry Shortcut
2. [Optional] Select LabVIEW Version(s)
3. Enter Activation Code and Computer Nickname
4. [Offline] Generate Remote Activation Request
5. [Offline] Enter Remote Activation Response
6. Conclusion
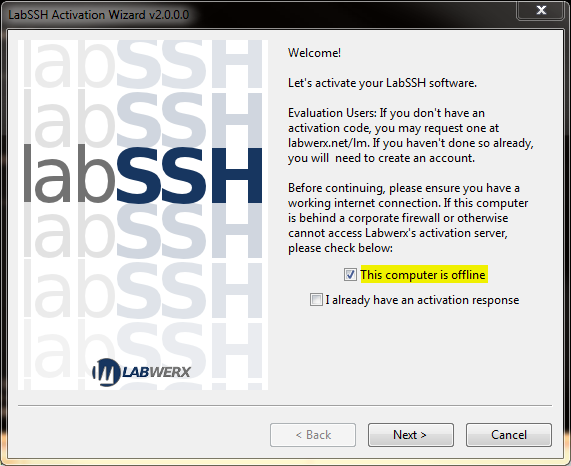
To begin, launch the Activation Wizard. Click "Start" -> "All Programs" -> "Labwerx" -> "labSSH" -> "labSSH_Activate". This will launch the activation wizard. Once the wizard is running, click 'Next' to begin the process.
If your computer is unable to communicate with Labwerx's activation server, click the box labeled This computer is offline. This will allow you to perform a remote activation.
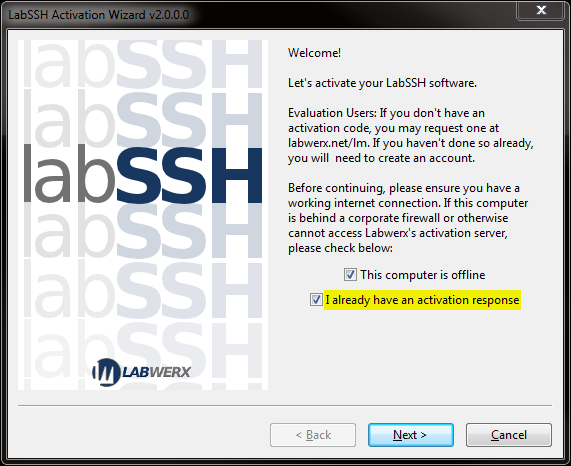
If you've previously generated and submitted a remote activation request, and are ready to enter the response, you may check the box labeled I already have an activation response. This will allow you to skip ahead to the response entry wizard page.
The wizard will automatically detect which LabVIEW version(s) are installed on your system. Select the version(s) for which to install the license file. In this example,
both LabVIEW 2013 and 2009 are installed.
NOTE: This page will not be shown if only one version of LabVIEW is present on your system.

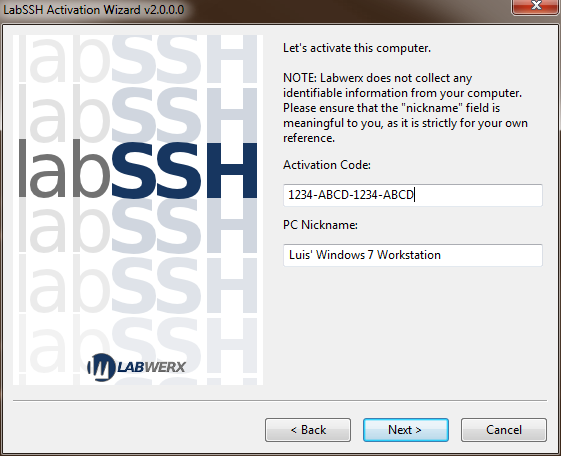
Enter your activation code. It is a 16-digit number, with each 4-digit block separated by a hyphen (see screenshot). We recommend simply copying and pasting this number.
A computer nickname is for your reference only. Our licensing system generates a unique identifier for each activated computer, but that identifier is not reversible. That is, we cannot provide any sort of information whatsoever about the activated computer. It is up to you to provide a meaningful nickname for the PC for later reference.
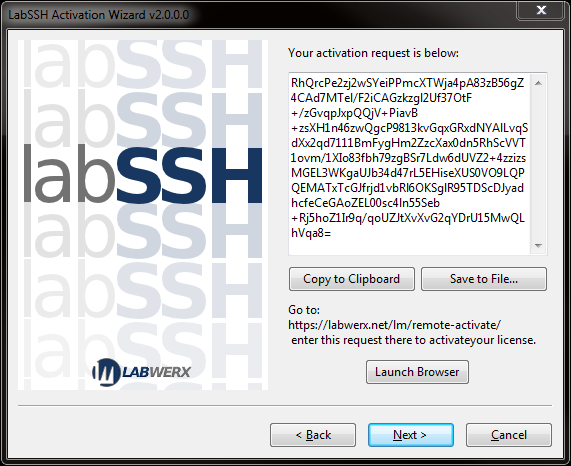
Here, the wizard will automatically generate a remote activation request. The goal here is to enter this remote activation request into the labwerx.net server in order to retrieve an activation response. For reference, the remote activation page is https://labwerx.net/lm/remote-activate/.
Copy to Clipboard - Clicking this button will copy your request to the clipboard, allowing you to paste it into a web browser.
Save to File... - Clicking this button will open a Save As file dialog, and will save the contents of the activation request to a text file.
Launch Browser - Clicking this button will launch your web browser directly to the remote activation page at labwerx.net. From there, you will be able to enter your activation request, and will be provided an activation response.
After you've entered the remote activation request into the website at labwerx.net, and you've received an activation response, click Next to go to the response entry page.
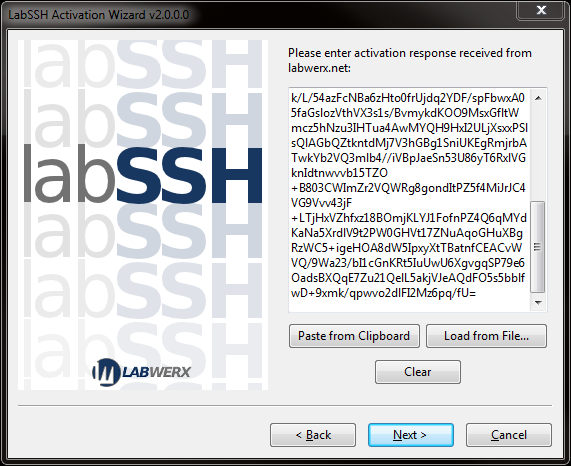
Now it's time to enter the remote activation response which was generated by the activation server.
Paste from Clipboard - Clicking this button paste the contents of your clipboard to the response text box.
Load from File... - If you saved the remote activation response to a text file, click this button to load it into the response text box.
Clear - Clears the contents of the response text box.
When you've loaded the response into the text box, click Next to activate your computer.
If all went well you will see the success screen shown below. Congratulations, you are now ready to use LabSSH!
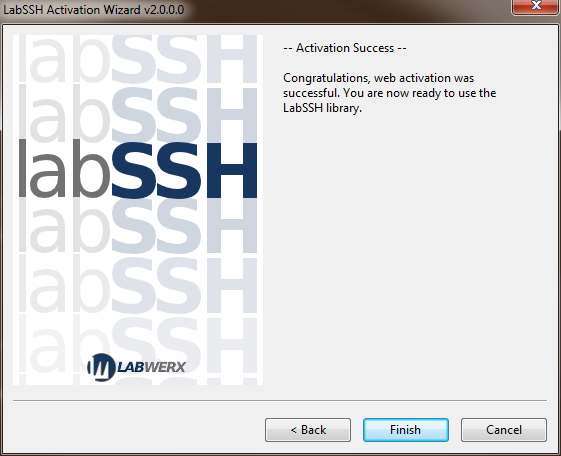
If the activation failed, either here or at any point in the wizard, please contact us at support@labwerx.net.